How to make fondant – Ingredients, Equipment, and Recipe
Updated 3/11/2026 – Changed the target temps for the sugar solution to be a few degrees higher for a more play-doh like consistency in the final outcome.
This recipe has been in my beekeeping recipe stash for quite some time and I have made it on a handful of occasions.
What follows is a recipe that has its origins from YouTUBE and DC Honeybees. Over the years we I have tweaked and elaborated on it given my experience, and the experience of others, with making it.
The format below starts with the basics of making the recipe with a summary instructions.
Below the basic recipe is a second telling of the recipe with a more verbose and expanded explanation – including tips and recommendations.
Base Recipe
Ingredients
- 4 cups of water
- ¼ cup corn syrup*
- 1 ¼ tablespoon lemon juice, Juice of ½ Lemon
- 8 pounds sugar
*Karo brand corn syrup is a common brand. When choosing corn syrup, choose a conventional offering (LIGHT); do not use dark or lite variations. The label for Karo Corn syrup to use is advertised as the LIGHT version.
- The LIGHT version ingredients in the corn syrup include small amounts of salt and vanilla extract. These are negligible and will not harm the bees when included in this recipe. The KARO brand does not contain any High Fructose Corn Syrup.
“Hardware”
- Large Tall Pot
- Thermometer
- Long Wooden Spoon or Spatula
- Rimmed baking sheets lined with Parchment paper
- Measuring implements, Measuring cups and spoons
- Kitchen Aide Mixer affixed with a paddle attachment
Directions
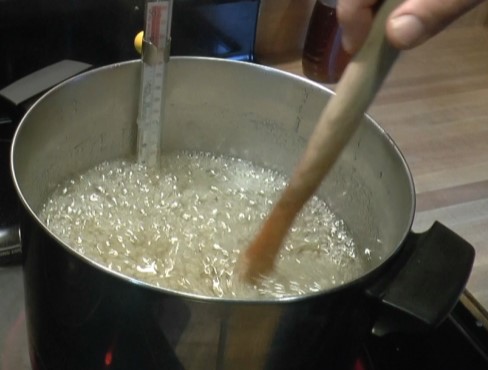
- Place a tall pot on the stove top over medium heat. Place a candy thermometer on the side and add the water.
- Allow the water to heat for a few minutes then add the sugar, corn syrup and lemon juice.
- Stir the solution until it forms a syrup; ensuring all of the raw sugar is mixed.
- Turn the heat to medium-high, and bring the mixture to 240°F to 245°F
- Remove the pot from the burner and allow the solution to cool to 120°F.
- Once cooled move the solution to a stand mixer fitted with a whisk attachment.
- Beat with a whisk until it a smooth and glossy and the color of a soft-white light bulb; 30 minutes to 1 hour*
- *The time required will vary based on machine being used and how high of a temperature you chose.
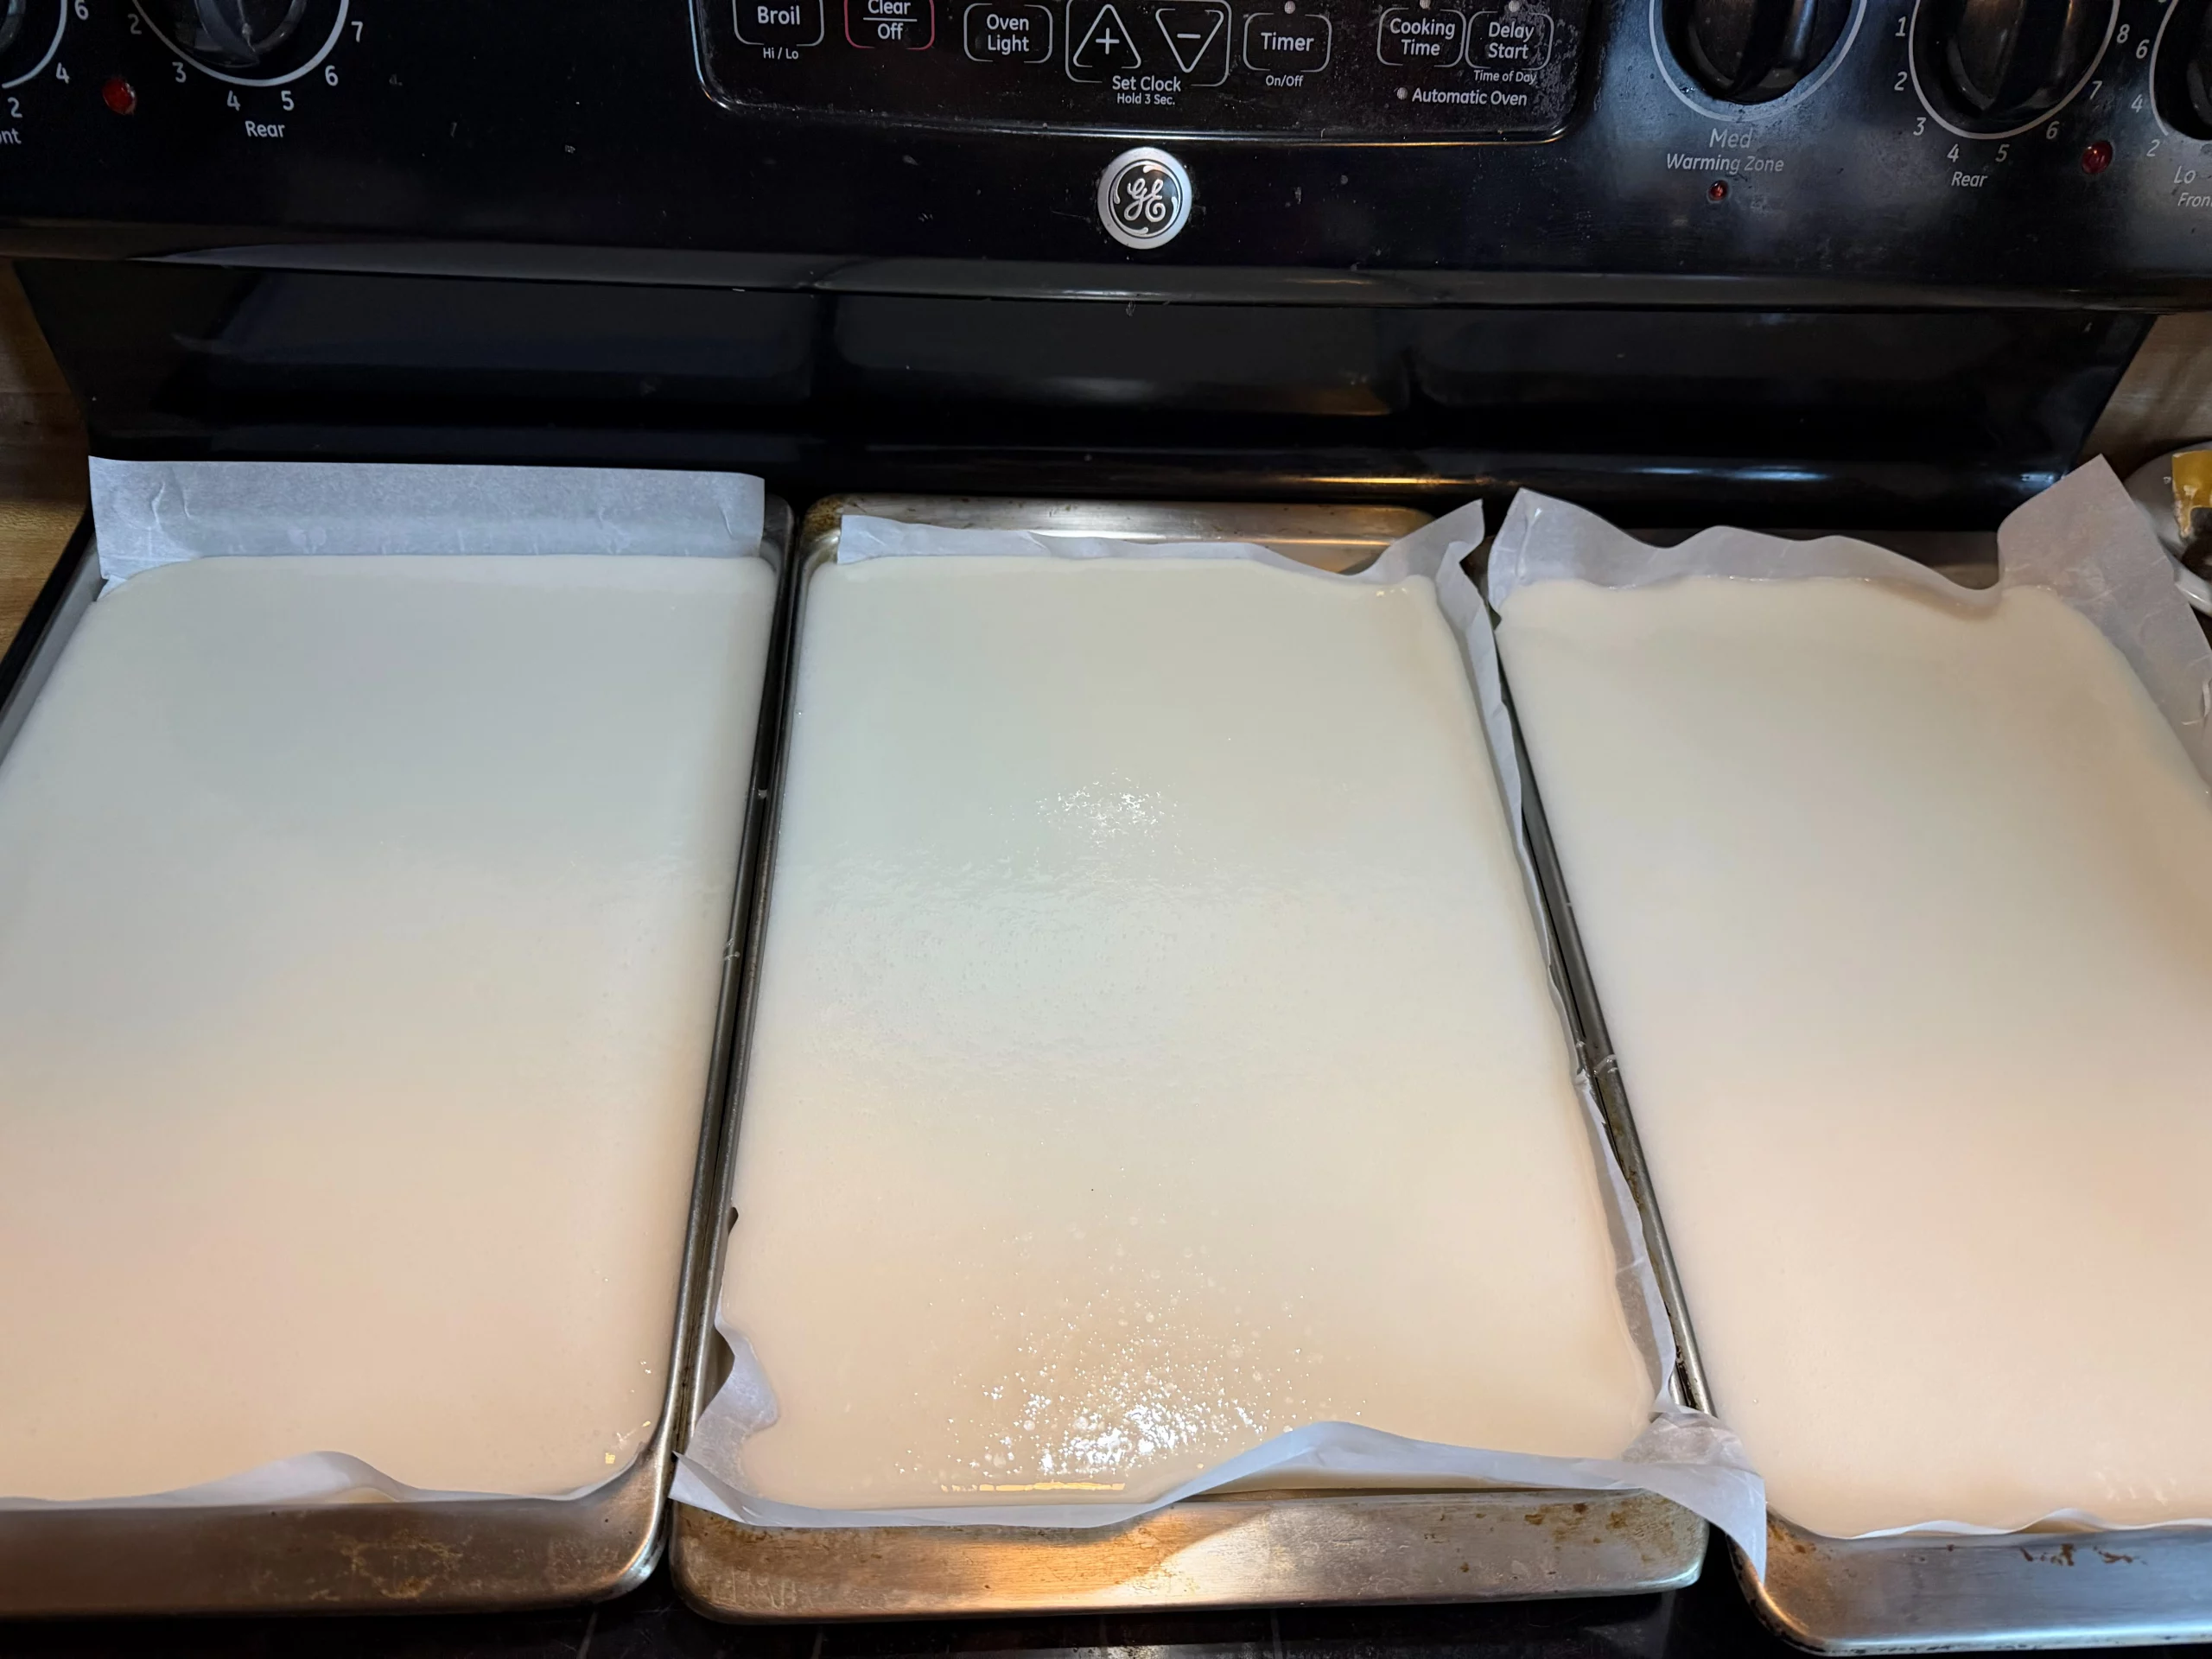
- Using care with the hot mixture, transfer the hot fondant to a rimmed baking sheets lined with parchment paper
- Allow to cool to room temperature. Move to sealed containers.
Elaborated Recipe Run Through
A Rather Detailed Walkthrough of the Process
Making fondant from this recipe is straightforward, at least for some that are comfortable in the kitchen, but working with scalding hot liquid and thermometers is not necessarily ordinary. There are a handful of things learned through doing the process and below you can find an outline of some insights, tips, and recommendations to further help you have confidence in making the fondant.
The Insights and Tips are followed by a more verbose set of instructions for the recipe.
Insights and Tips
Pot Choice
Be sure to use a tall pot for preparing the fondant. When the syrup is boiling to the target temperature it will boil violently and climb in the pot.
- If you use a shallow pot it will spit and spatter all over your kitchen and possibly boil over the sides of your pot.
Anticipate a Climbing Boil
When bringing the sugar solution to temperature, there will be a stage where the water is cooking off and the mixture will go from a rapid boil to a frenetic boil; Anticipate this and do not be alarmed.
The frenetic boil is a result of the water cooking off and as the process progresses the bubble compositions will settle down and it will return to a more manageable vigorous (caldron like) bubbling boil toward the end.
- Use care when the sugar solution is at the violent boil stage while stirring that the popping bubble do not throw scalding liquid on your skin.
Spatula Choice
Due to the nature of boiling a liquid that is scalding hot, be sure to pick a wooden spoon or Silicone Spatula that is extra long so your hands do not have to go into the pot while stirring.
- Wood or Silicone is commonly preferred for this as it does not take on the temperature like metal.
Avoid Caramelization
Avoid the sugars from caramelizing; If the sugar caramelizes in any way, the fondant will be tainted or even ruined.
- Honey bees can get very ill, if they were to consume sugar that has been cooked due to the chemical reaction that occurs when sugar browns.
- It is especially important to stir the sugar at the beginning of the process. Dry sugar tends to clump and sink to the bottom. If not constantly stirred, it has the potential to scorch.
- While stirring be sure to reach deep into the pot, and use a scooping motion to get the raw sugar that settles on the bottom. Ensure the lower part of the sugar solution is never left static in the bottom of the pot and at a risk scorching.
- Continue to stir the mixture throughout the process, mind the temperature used. It may take longer, but you risk less chance of scorching the sugars if you heat it on medium or medium-high. Resist the urge to cook it over high heat to save time.
Thermometer Choice
There are several types of thermometers you can use for the process. Traditionally one would use a candy thermometer. Most people do not own one of these, but they often have a probe thermometer for barbequing. Some may even have the point and shoot infrared thermometers and they can be used for this. They read the surface and could give you a less than reliable reading but I have seen enough people using them as to say they are ok. We have settled on using a probe thermometer for the job.
Ideally you should check a thermometer to make sure it is right. Follow the device instructions for your device so you can assure the target temp reading is going to be accurate.
Stand Mixer Required
This process really requires a substantial mixer. Some instruction on the web tell you can mix the solution with a hand mixer but it is really impractical to try to do so. The slurry is quite stiff in the beginning and it only gets thicker and more viscous as it cools during the course of mixing. Even the gold standard Kitchen-Aide mixer struggles somewhat with dealing with the viscosity of mixing the sugar solution as the fondant forms.
- Look after your mixer: Mixing the fondant requires quite a bit of power and even substantial mixers will strain under the effort.
- We recommend that you monitor how the mixer is laboring under load and especially hot the working pars of the motor get during operation. To test it you can touch the case. If it starts to overheat from the strain, give it a rest to cool off.
- If you find your mixer is straining beyond your comfort level: two considerations
- Mix in intervals: Mix for 10 minutes, then turn the mixer off to rest. Restart after 10 minutes and repeat the process until done.
- Split the batch: Mix the first half until done, and then mix the second. Keep the second one in the pot in a warm spot, covered so it does not seize up.
- If you find your mixer is straining beyond your comfort level: two considerations
Alternative to Stand Mixer:
Some creative beekeepers have turned to using garage tools for mixing and have demonstrated great creativity, especially when making large batches. Solution examples include massive pots on outdoor stoves for large batches, employing turkey fryers, large drills with paddle attachments for mixing and so on. If this is more your speed, search YouTube. These are a little to exotic for this blog post.
Consistency
The final consistency is usually a mix of two factors: The temperature at which the solution is heated and how long it is mixed.
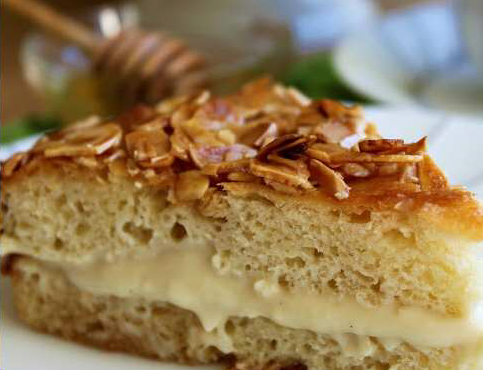
- Many are familiar with fondant through baking. Commercial baking fondant appears smooth and glossy; suitable for covering a cake. Typically that level of sophistication is achieved in commercial bakeries by substantial mixing with industrial mixers. As to mixing fondant to feed bees, especially in the home setting, it is unnecessary to achieve that level of smoothness and texture.
- Ideally you are looking for bee fondant to be a dough like paste that will hold shape and can be formed into patties. If you forgo mixing the solution will take on a grainy mashed potato like appearance. For bee fondant, that is enough for some beekeepers and not a bad way to go.
- To achieve a translucent play-dough style mixture use a stand mixer. The supersaturated sugar solution and as you mix it, it will cool and crystallize. As it coverts, it stiffens up and becomes more viscous – to the point that it could possibly stiffen enough that it will not pour into the prepared rimmed baking sheets. Do keep an eye on the progress of mixing and ensure it does not become so stiff as to become difficult to transfer out of the mixer. Do note that while the texture is desirable, soft white, playdoh consistency, the sugar is STICKY. This is to be expected. If you want it to be less sticky you could chill it, which firms it up for handling, and you could dust (coat) it with plain table sugar.
More on Fondant Consistency & Temperature
When making fondant, it is akin to the candy making process. Candy making terms are often used in describing the texture of the product and the resultant textures from heating the solution to specific temperatures.
- The soft fudgy texture in candy terms is referred to as the ‘soft-ball’ stage. Candy starts to transform from a slurry of loose thick viscous material to a dough like consistency at 235°F (112°C) to 240° (115°) .
- When making fondant, sometimes beekeepers want a cake like texture that is stiff but still pliable so it can be broken into stiff firm pieces. At 245°F (118°C) the sugar will form a taffy like texture that is firm and will hold together
- Note, if you forgo mixing at this temp- simply pour the heated mixture out onto a baking sheet, the sugar cake will be stuff but shear easily into pieces when twisted to break apart. It could be noted that the bees have no problem breaking down this form of fondant for consumption. Forging mixing results in something akin to a sugar slab that is akin to a stiff paste.
- Above 245°F (118°C) the sugars start to melt and bond to form more glass-like textures and can go as far as being unbreakable like hard candies. Note that bees can even break this down if necessary.
- The preference for the final consistency is up to the beekeeper and most fondant recipes stick to a range of 235°F to 240°F (112°C to 115°C) so they end up with a soft dough like consistency but it can be a little soupy at this range. Heating up to 240°F (115°C) and pushing to 245°F (118°C) will assure it is not soupy, and turn it to a taffy/playdough like feel.
- Given it is user preference, experiment with different batches until the desired consistency is achieved.
Corn Syrup & Lemon Juice
Why is there corn syrup and lemon juice in the recipe? Corn Syrup is employed in candy making to alter the texture and formulation of the final product. Without getting into the chemistry of it, corn syrup aids in prevention of hard crystallization and provides for a softer texture in the final product.
The acids in the lemon juice help to fracture some of the bonds in the sugar crystals and help break down the sugar some into its base sugars which aid the bees in converting it to food for storage and consumption.
Detailed Recipe Instructions
Ingredients
- 4 cups of water
- ¼ cup corn syrup
- 1 ¼ tablespoon lemon juice, Juice of ½ Lemon
- 8 pounds sugar
“Hardware”
- Large Tall Pot
- Thermometer
- Long Wooden Spoon or Spatula
- (3) 11″ x 17″ Rimmed baking sheets, lined with Parchment paper
- Measuring implements, Measuring cups and spoons
- Kitchen Aide Mixer affixed with a paddle attachment
Directions
- Place a tall pot on the stove top over medium heat. Place a candy thermometer on the side and add the water. Allow the water to heat for a few minutes then add the sugar, corn syrup and lemon juice.
- Stir the solution until it forms a syrup; ensuring all of the raw sugar is completely mixed in and not pockets of unmixed sugar remain. It will turn to a semi-translucent clear syrup when fully mixed.
- If you do not have a candy thermometer, you can use an instant read thermometer or some other alternative suitable for candy preparation (temps up to 300°F/148°C)
- Turn the heat to medium-high, but not so high as to scorch the bottom of the solution.
- Watching the liquid, and stirring enough to keep the solution from browning in any way, monitor the liquid until it comes to the desired temperature for the texture you wish to achieve in the final product – 240°F (115°C) to 245°F (118°C).
- Once it is a few degrees below the target temperature turn off the burner. Residual heat will allow it to come to the full temperature and when it does, pull it off of the burner.
- Allow the mixture to cool down to 120°F (49°C) in preparation for moving to a stand mixer.
- Pour the mixture into the bowl of your stand mixer (fitted with the paddle attachment); using supreme care as the solution is extremely hot. Both the metal bowl and heated solution will severely scald your skin.
- It is highly recommended that you wear kitchen mitts or some kind of protective wrist length gloves to prevent spatters from burning your hands and wrists.
- Turn the mixer it to its lowest setting. Once the mixer is in motion you can increase the speed to a point where you are comfortable and it is not spilling over the mixing bowl
- Depending the size and capability of your mixer, you can allow it to go straight through until the desired consistency is achieved, or run it in timed intervals | Example: 10 minute mix, 10 minute rest, 10 minute mix, 10 minute rest, etc.
- Do pay attention to the strain on the mixer and how hot the housing gets and that it does not get overloaded.
- When the solution turns to a soft white milky color, and is at the desired consistency, remove the mixing bowl from the stand mixer and use the wooden spoon/spatula, to pour it out on the lined baking sheets.
- Note: Use caution as the mixture is still scalding hot. Do not attempt to handle it with your bare hands and by no means consider breaking off a piece to eat.
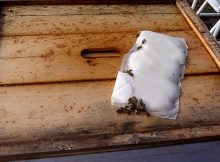
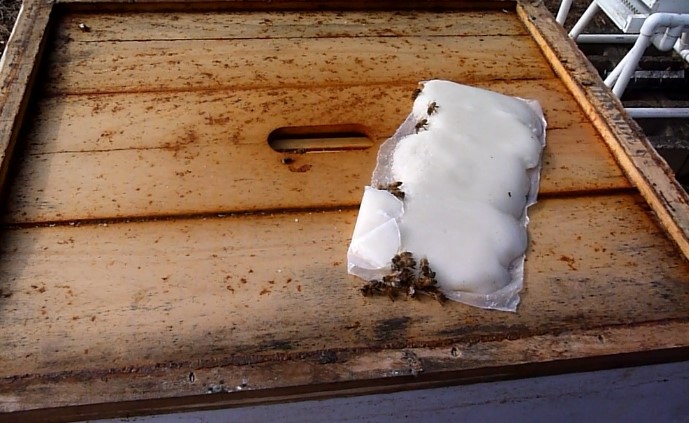
- The mixture will take several hours to cool and most leave it overnight. Once finished off it can be moved to a sealed vessel for storage or you can make the desired patties and place them on your hives
When sealed well, the prepared fondant will keep for several months, if not up to a few years depending on how you store it.
Final Commentary
Beekeepers are fond of fondant for feeding overwintering bees or when a solid sugar food is needed. In the grand scheme of things fondant is a bit fussy when considering one can pour sugar out into a container, add water, and allow it to firm up and have close to the same thing with far less work.
As noted in the details, cooking the solution with corn syrup and lemon juice do change the composition some from the perspective of raw sugar but the bees can consume it just about as easily in the simple sugar form.
It should not be lost on the beekeeper that a conventional inner cover has a shallow and a deep side, the deep side design having its origins on feeding. The intent is that in the dead of winter you can quickly remove the telescoping cover, pour on some loose sugar (into the deep space provided) and simply cover things off to feed bees. One funny thing about this practice is there are times the bees see that sugar as food and there are times they treat it like debris and carry it out of the hive.
In experience, bees will almost assuredly consume fondant place on a hungry colony come late spring.