








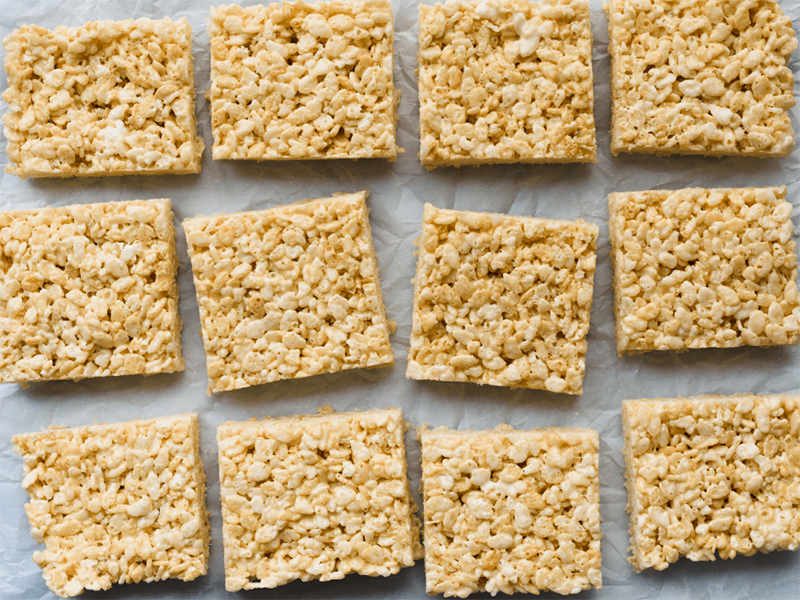
Listener Jared Webster (of the Webster Clan – he has a large family!) tipped us off to this variation of Rice Krispie Treats made with HONEY as the base ingredient instead of marshmallow. The unusual name for this treat is a nod to the honey-forward approach as prepared in New Zeeland according to the original recipe source from the Cloudy Kitchen Blog.
We first made this recipe as written and it was excellent. I brought it to a family gathering, where it was quickly devoured. When I asked for feedback, several people mentioned that the caramel was very butter-forward. While the honey was noticeable, its flavor didn’t stand out as much as they expected.
I made it several times since then, changing the ratios of the key ingredients until I came up with one that hit on the flavor profile I was looking for. For the version below, I adjusted the sugar-to-honey ratio to include more honey. I also reduced the butter from more than 1½ sticks to 1 stick plus 1 tablespoon. The caramel still retained a rich buttery undertone, but the honey flavor came through much more clearly with these small tweaks.
INGREDIENTS
PAN PREPARATION
(1) 8″ x 8″ pan lined with parchment paper
– keep the parchment paper a little long so it hangs over the edges and can work as a sling
RICE BUBBLE SLICE
150 grams rice krispies®
140 grams granulated sugar, (2/3rds cup)
127 grams unsalted butter, (1 stick + 1 Tablespoon [9 tablespoons])
100 grams honey, (1/3 cup)
1/2 teaspoon vanilla bean paste, optional, but recommended (or use vanilla extract 1 teaspoon)
1 pinch salt (leave out if using salted butter)
DIRECTIONS
PREPARE THE RICE CRISPIES
- Place the Rice Krispies into a large bowl. Set aside.
CREATE THE CARAMEL SAUCE
- In a heavy bottomed saucepan, combine the sugar, butter, and honey. Place over medium heat and heat, stirring often with a silicone spatula, until the butter melts and the mixture comes to a boil.
- Once to a boil, reduce the heat slightly and continue to cook the mixture for 2 1/2-minutes, stirring constantly with a silicone spatula.
- Remove from the heat and allow to cool slightly. Then add the vanilla and salt and mix to combine.
COMBINE THE SAUCE AND RICE KRISPIES
- Pour the sauce over the Rice Krispies and stir well until the cereal pieces are completely and evenly coated.
-Use a silicone spatula to gently fold the mixture and cut through it, working the sauce over and around the cereal.
– Continue until the Rice Krispies are fully coated and the mixture begins to hold together, taking care to preserve the cereal’s puffed texture.
MOVE TO THE PAN AND CHILL
- Transfer the coated Rice Krispies to the prepared pan and spread into an even layer.
– Firmly press the mixture into the pan with the back of a spatula to compact it.
– For a smoother top surface, place a piece of parchment paper over the mixture and press down evenly.
– Apply pressure to the mixture as a whole rather than scraping or dragging across the cereal, which helps maintain its texture while creating bars that hold together after cutting. - Let cool to room temperature, then place in the refrigerator until chilled.
- After 30 to 45 minutes, remove from the refrigerator. Lift the Rice Krispies treat from the pan, transfer it to a cutting board, and cut into pieces with a sharp knife.
- Store in an airtight container at room temperature or in the refrigerator. They will keep for several days, but their texture is best when enjoyed within 1 to 2 days.